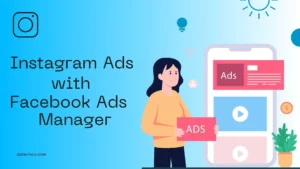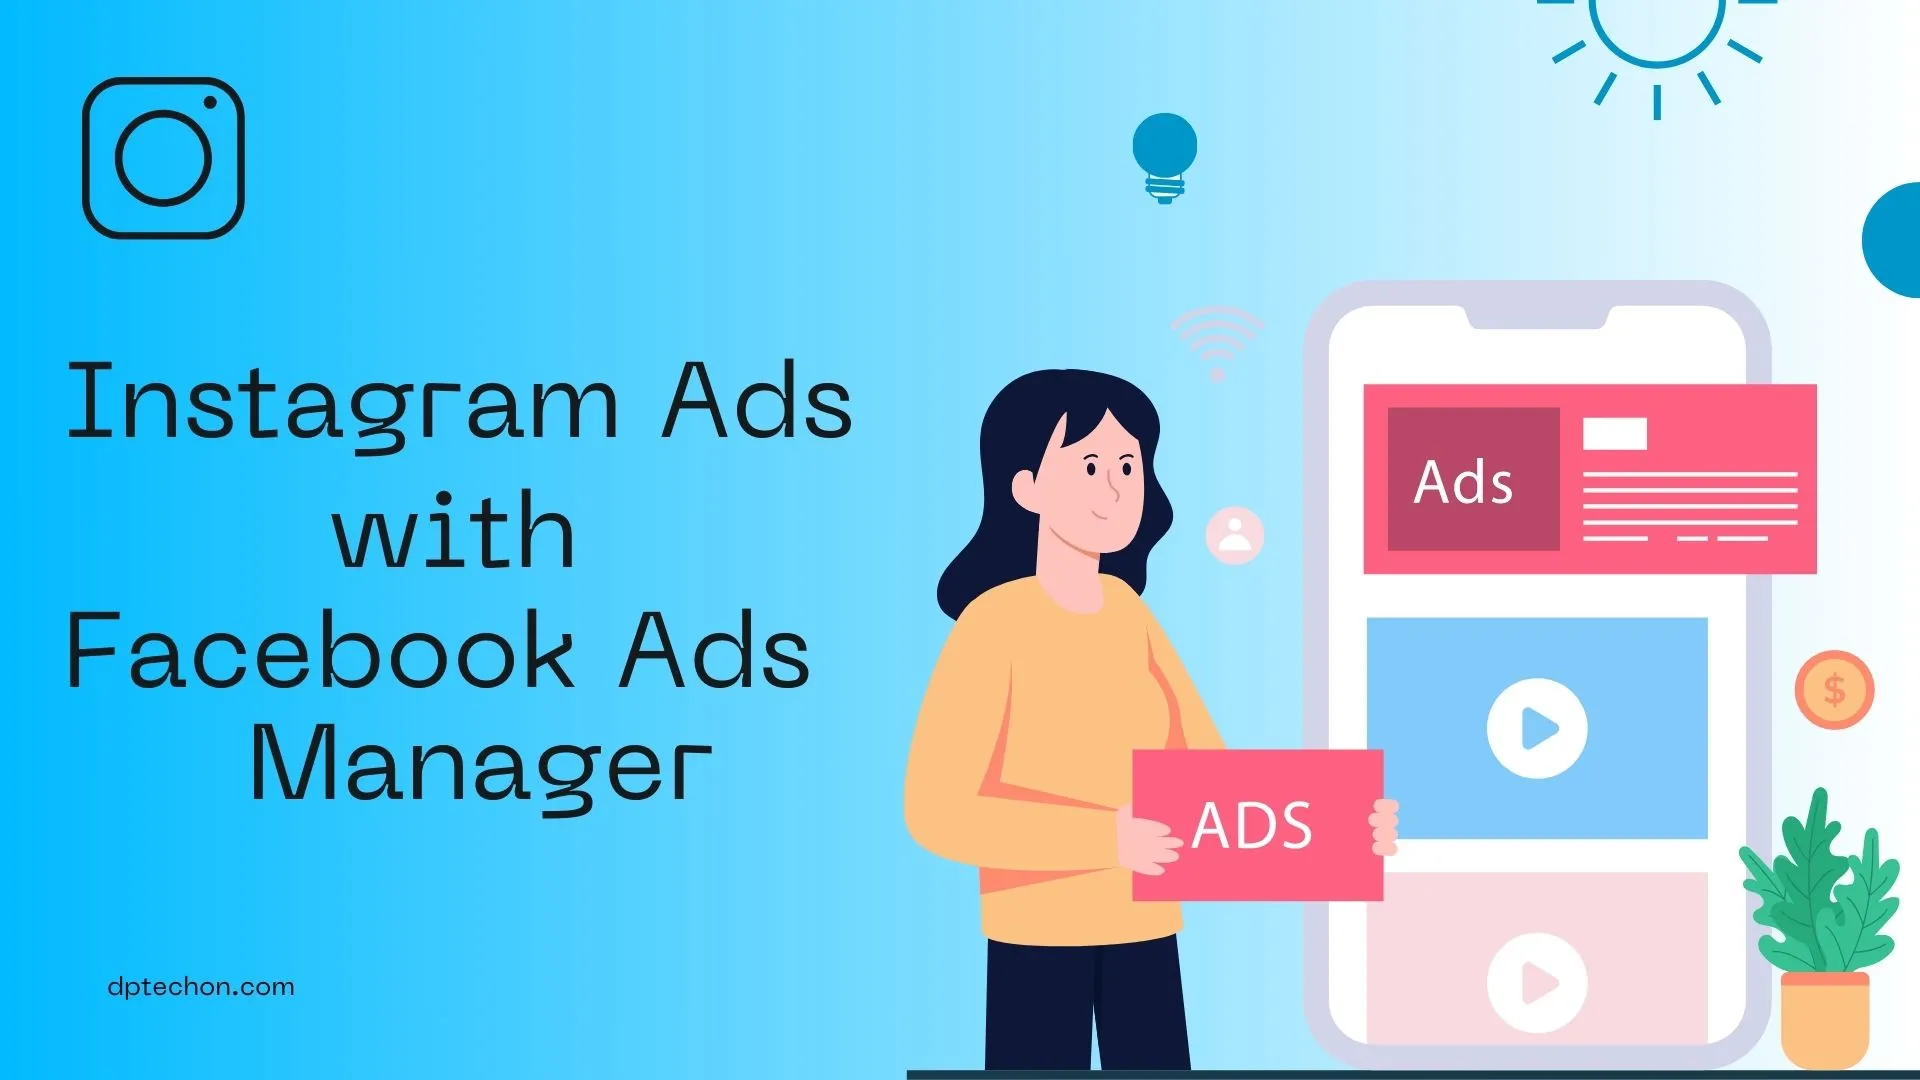
Facebook Ads Manager can be used for running Instagram ads. This blog post will provide a comprehensive guide on how to use Facebook Ads Manager for Instagram.
What is Facebook Ads Manager?
Facebook Ads Manager is a tool developed by Facebook that allows businesses to create, manage, and track advertising campaigns across Facebook’s family of apps, including Instagram.
It offers a range of features that enable businesses to target specific audiences, set budgets, and analyze the performance of their ads.
Why Use Facebook Ads Manager for Instagram?
By using Facebook Ads Manager, you can:
- Reach a wider audience: With over a billion monthly active users, Instagram provides a vast audience for your ads.
- Target-specific demographics: Facebook Ads Manager allows you to target ads based on location, age, interests, and more.
- Ad Formats: It has various ad formats for different types of content.
- Track ad performance: The tool provides detailed analytics to help you understand how your ads are performing.
Facebook Ads Manager vs Instagram Boost Now
You can run Instagram ads without using the Facebook Ads Manager. However, the ads run through Facebook Ads Manager give better performance and optimization when compared to the normal Boost Now ad option on Instagram.
How to Use Facebook Ads Manager for Instagram
1. Set Up Your Ad Account
Before you can start creating ads, you need to set up an ad account in Facebook Ads Manager.
If you already have a Facebook Ad Manager account then you can skip this step.
First sign up for Facebook Ads Manager using a Facebook account.
How to Create a Facebook Ads Account
Follow the above video to create a meta ads manager account.
After signing up head to the Billing & Payments section to add your payment methods.

Once you finish setting up the payment methods for your ads account head to the Ad account settings section.
You can explore those settings and set it up according to your wish.
2. Create a New Campaign
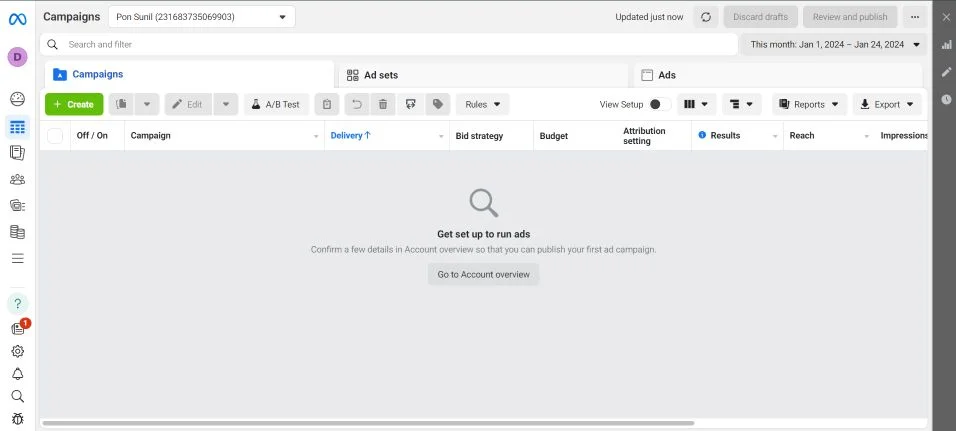
After signing up for Facebook ads login to your ads account. When you log in to your Facebook ads account you will be taken to your dashboard.
You can create a new campaign by clicking on the Create button.
Now, select the objective of your Instagram ad.
Awareness: Promote your ads to people who are most likely to remember them.
Traffic: Send people to a destination, like your website, app, or Instagram profile.
Engagement: Get more messages, and purchases through messaging, video views, post engagement, Page likes, or event responses.
Leads: Collect leads for your business or brand.

Next, choose the recommended settings option only choose a manual engagement campaign if you know about it.
Give a name for your campaign and only add a category if your content fits in those sensitive categories or else leave it as it is.

3. Define Your Audience
In this step, you’ll define the audience for your ad. Facebook Ads Manager allows you to target your ads based on various parameters such as:
- Location: You can target your ads to people in specific locations, from entire countries to cities or even a radius around a specific location.
- Demographics: Define your audience by age, gender, education, job title, and more.
- Interests: Target people based on their interests, such as the apps they use, ads they click, and accounts they follow on Instagram.
- Behaviors: Reach people based on their online behaviors, such as whether they’re online shoppers, use travel apps, or are active Instagram users.
- Custom Audiences: If you have your list of contacts, you can upload it to Facebook Ads Manager to create a custom audience.

If you want your Instagram reel to get more views, likes, etc select the on your ad option. The website and app are to drive traffic to them.
4. Set Your Budget and Schedule
After defining your audience, you need to set a budget for your ad campaign. Facebook Ads Manager allows you to set a daily or lifetime budget.

You can also schedule your ads to run continuously or within a specific date range.
5. Create Your Ad
The final step is to create your ad. You can choose from various ad formats such as single image, video, carousel, slideshow, or collection.
Make sure to create compelling ad content that aligns with your brand and campaign objective.
6. Monitor and Optimize Your Ad Campaign
Once your ad is live, it’s important to monitor its performance regularly. Facebook Ads Manager provides detailed reports that show how your ads are performing in terms of reach, clicks, conversions, and more.
Use these insights to optimize your campaign and improve your return on investment.
Conclusion
Facebook Ads Manager is good for running an Instagram ad as it provides many optimization options to improve the overall performance of your Instagram ad.
I hope you found this post helpful and if you have any doubts you can leave a comment below.

Darjan Micheal specializes in Instagram reel video editing and has a deep technical understanding of the platform. His articles and tutorials help creators master crafting compelling reels and using Instagram’s features. Darjan’s aim is to simplify technical aspects and inspire engaging content creation.